The Ultimate Guide: Step-by-Step Instructions for Installing Common Auto Parts
For anyone who spends a good chunk of their time on the road or under the hood, understanding the process of installing essential auto parts can be extremely empowering and, not to mention, rewarding. Whether you’re a novice looking to save on maintenance costs or a seasoned hand aiming to enhance your vehicle, this comprehensive guide will walk you through the intricate process of DIY auto part installation.
The Beat of DIY Auto Repair
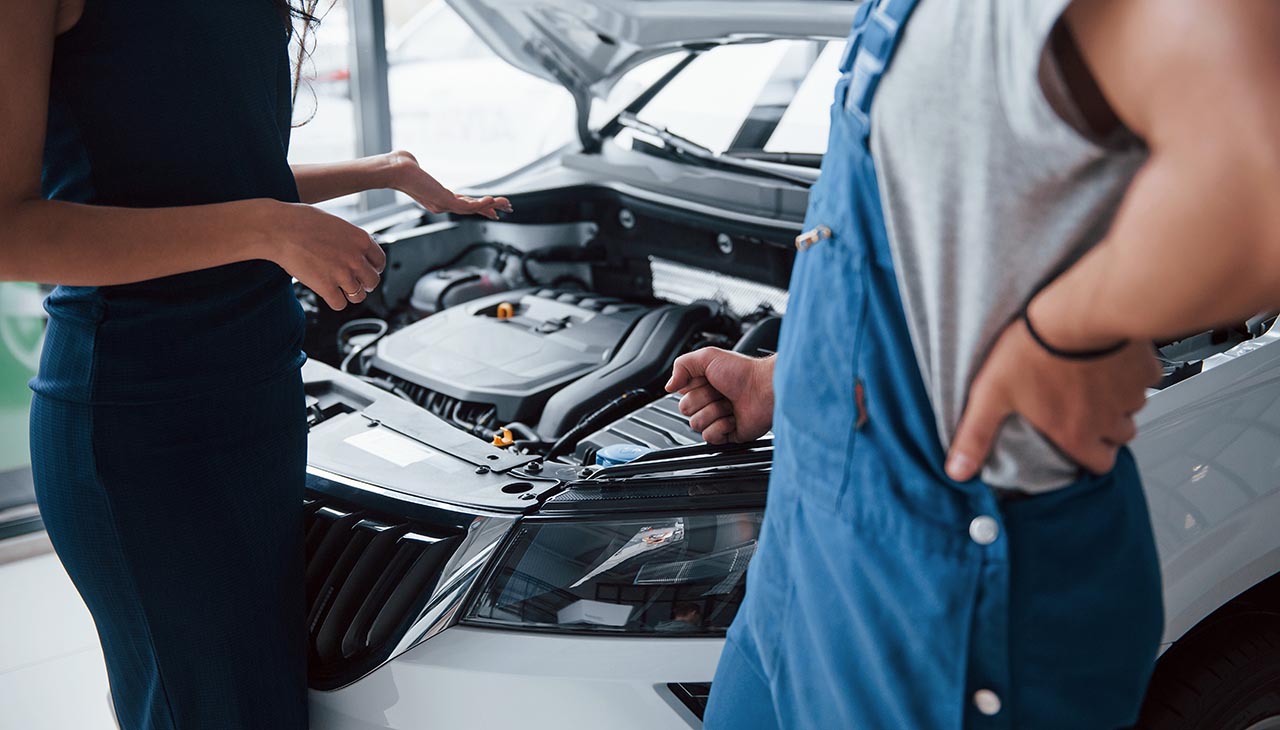
DIY auto repair isn’t just a frugal means of fixing up your ride; it’s a gateway to understanding the inner workings of your car, fostering self-reliance, and sometimes even discovering a new passion. This hands-on approach isn’t just for gearheads and auto mechanics; it’s a fulfilling endeavor for any car owner who appreciates the satisfaction of a job well done.
The Importance of Common Auto Parts
The health of your vehicle hinges on the functionality of several crucial auto parts. Understanding and being able to install these parts not only enhances your car’s performance but also your sense of control and ownership. From lights and filters to brakes and belts, your ability to master these installations not only saves you time and money but can also lead to a safer and more reliable driving experience.
Tools of the Trade
When it comes to installing auto parts, the right tools are non-negotiable. Having the correct tools not only makes the job easier but also significantly safer. Here’s a list of essential tools you’ll need:
- Wrench set
- Socket set
- Screwdrivers (Phillips and flathead)
- Pliers (needle-nose and standard)
- Jack and jack stands
- Torque wrench
- Work gloves and safety goggles
- Service manual and possibly a code scanner
No matter how daunting a project may seem, the right tools, when wielded by a prepared pair of hands, can transform the process into a manageable and even enjoyable task.
Step-by-Step Installation Process
The key to a successful auto part installation is approach and precision. Here’s a detailed walkthrough on how to replace common auto parts in your vehicle.
Step 1: Preparation is Paramount
Before turning a single bolt, preparation ensures a seamless installation. This entails:
- Gathering the Right Part: Purchase the correct part for your make and model, ensuring it’s compatible and fit for purpose.
- Safety First: Ensure that the car is in a safe location, with the engine off and keys removed. Use wheel chocks when necessary.
- Environmental Considerations: Consider working on your car in an environment where spills and messes can be easily contained and cleaned.
Step 2: Removing the Old Part
Each part will have its unique removal process, but typically it will involve:
- Disconnecting: For parts like batteries or spark plugs, always disconnect the negative terminal first.
- Unbolting and Unscrewing: Use the appropriate tool to carefully remove any fastenings that secure the part.
- Handling: Some components are under tension or hold fluids. Ensure you handle them safely to avoid harm.
Step 3: Installing the New Part
Installing the new part requires a methodical approach to ensure a proper fix:
- Alignment: Ensure the replacement part is aligned correctly before securing it in place.
- Fastening: Use proper torque and the right sequence when tightening bolts to avoid damage and ensure a secure fit.
- Reconnecting: Ensure all appropriate connections are made, like hoses, cables, and electrical connectors.
Step 4: Adjusting and Calibrating
Some parts, after installation, may need slight adjustments or calibration. This can include things like sensor positioning or belt tension adjustment. Always refer to the service manual or manufacturer’s guidelines for this step.
Safety on the Workbench
Safety while working on your vehicle is non-negotiable. Always:
- Work with a Buddy: Having someone nearby can mean the difference between a small accident and a catastrophe.
- Use Proper Lifting Techniques: Always follow the recommended procedures for lifting the vehicle with a jack.
- Protect Yourself: Use gloves and eye protection, especially when dealing with sharp or potentially hazardous components.
- Know When to Stop: If a repair is beyond your skill level, don’t push it. Know when to call a professional.
Troubleshooting Mishaps
Even with careful planning, things can go awry. Common installation issues can include parts not fitting properly, leftover parts after reassembly, or the vehicle not starting or operating as it should. For each issue, there’s a solution, and we’ll guide you through the diagnostics and remedial steps.
Conclusion
DIY auto part installation is more than just a cost-saving measure; it’s an educational odyssey through the heart of your vehicle. With the right approach, tools, and knowledge, you can not only maintain your car but also elevate its performance and your understanding of what makes it tick.
Future generations of mechanics and weekend warriors can further hone their craft by sharing their experiences and learning from one another. The community around DIY car care is not only vast but also incredibly supportive. Remember, each successful install is a stride toward automotive mastery.
Start with these common parts, and as you grow more confident, you might find yourself tackling more complex fittings, discussing the intricacies of engine repair, or even building your project car from the ground up. It all begins with a single installation, with each click of a wrench and turn of a bolt, bringing you closer to the heartbeat of your vehicle.